Configure Captive Portal Zone
Step 1 – Add Captive Portal Zone
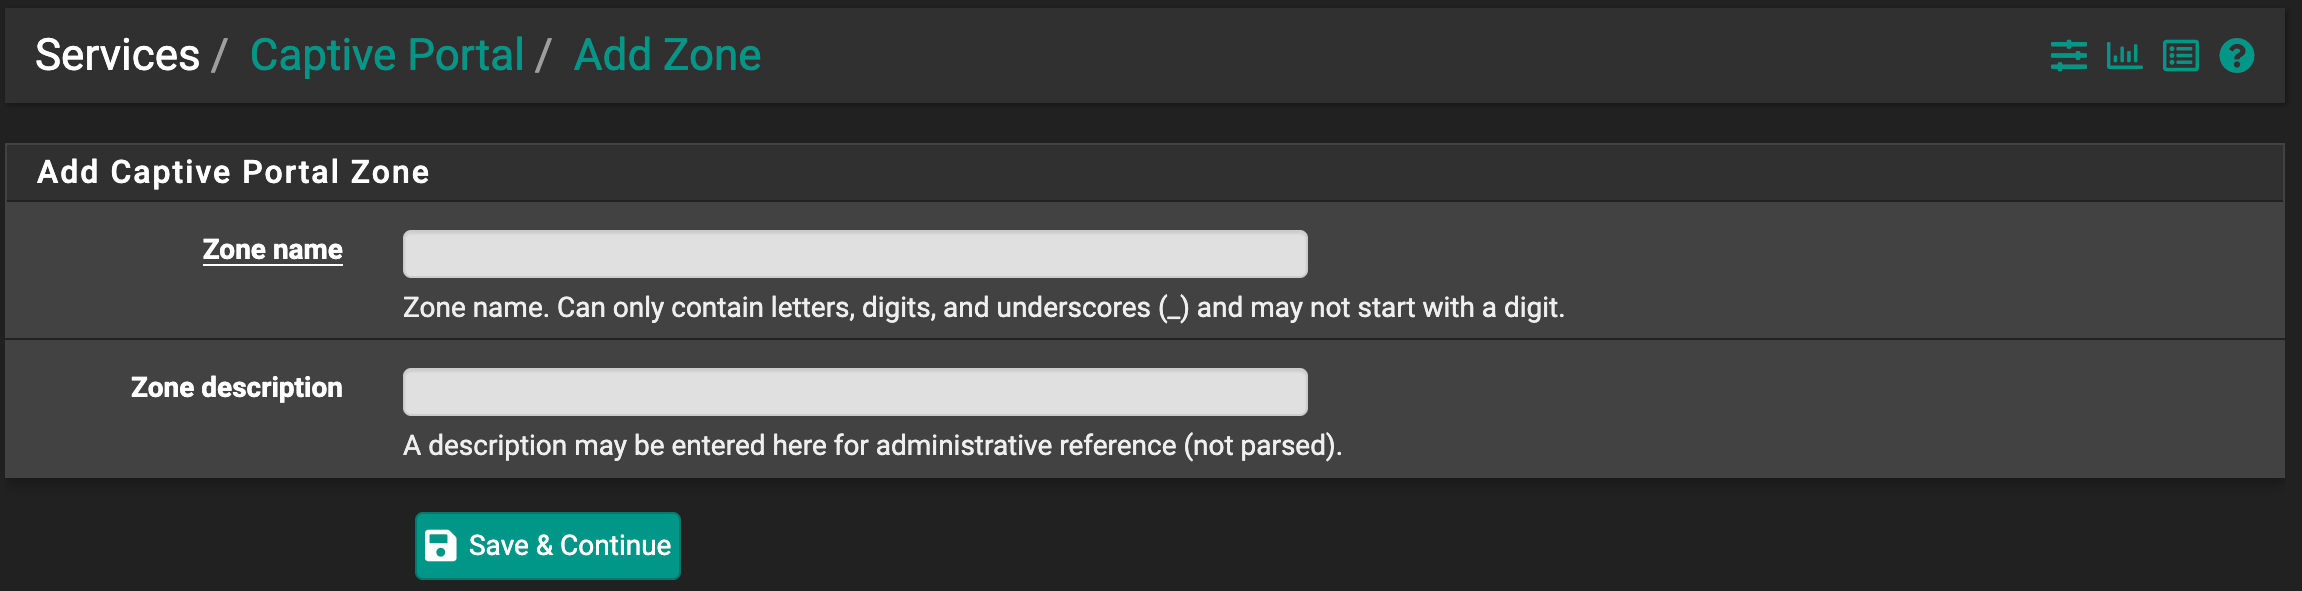
- Go to Services → Captive Portal → Add.
- Enter the following:
| Field | Value |
|---|---|
| Zone Name | WiFi_Lobby |
| Zone Description | Guest Wi-Fi |
Step 2 – Configure Captive Portal Settings
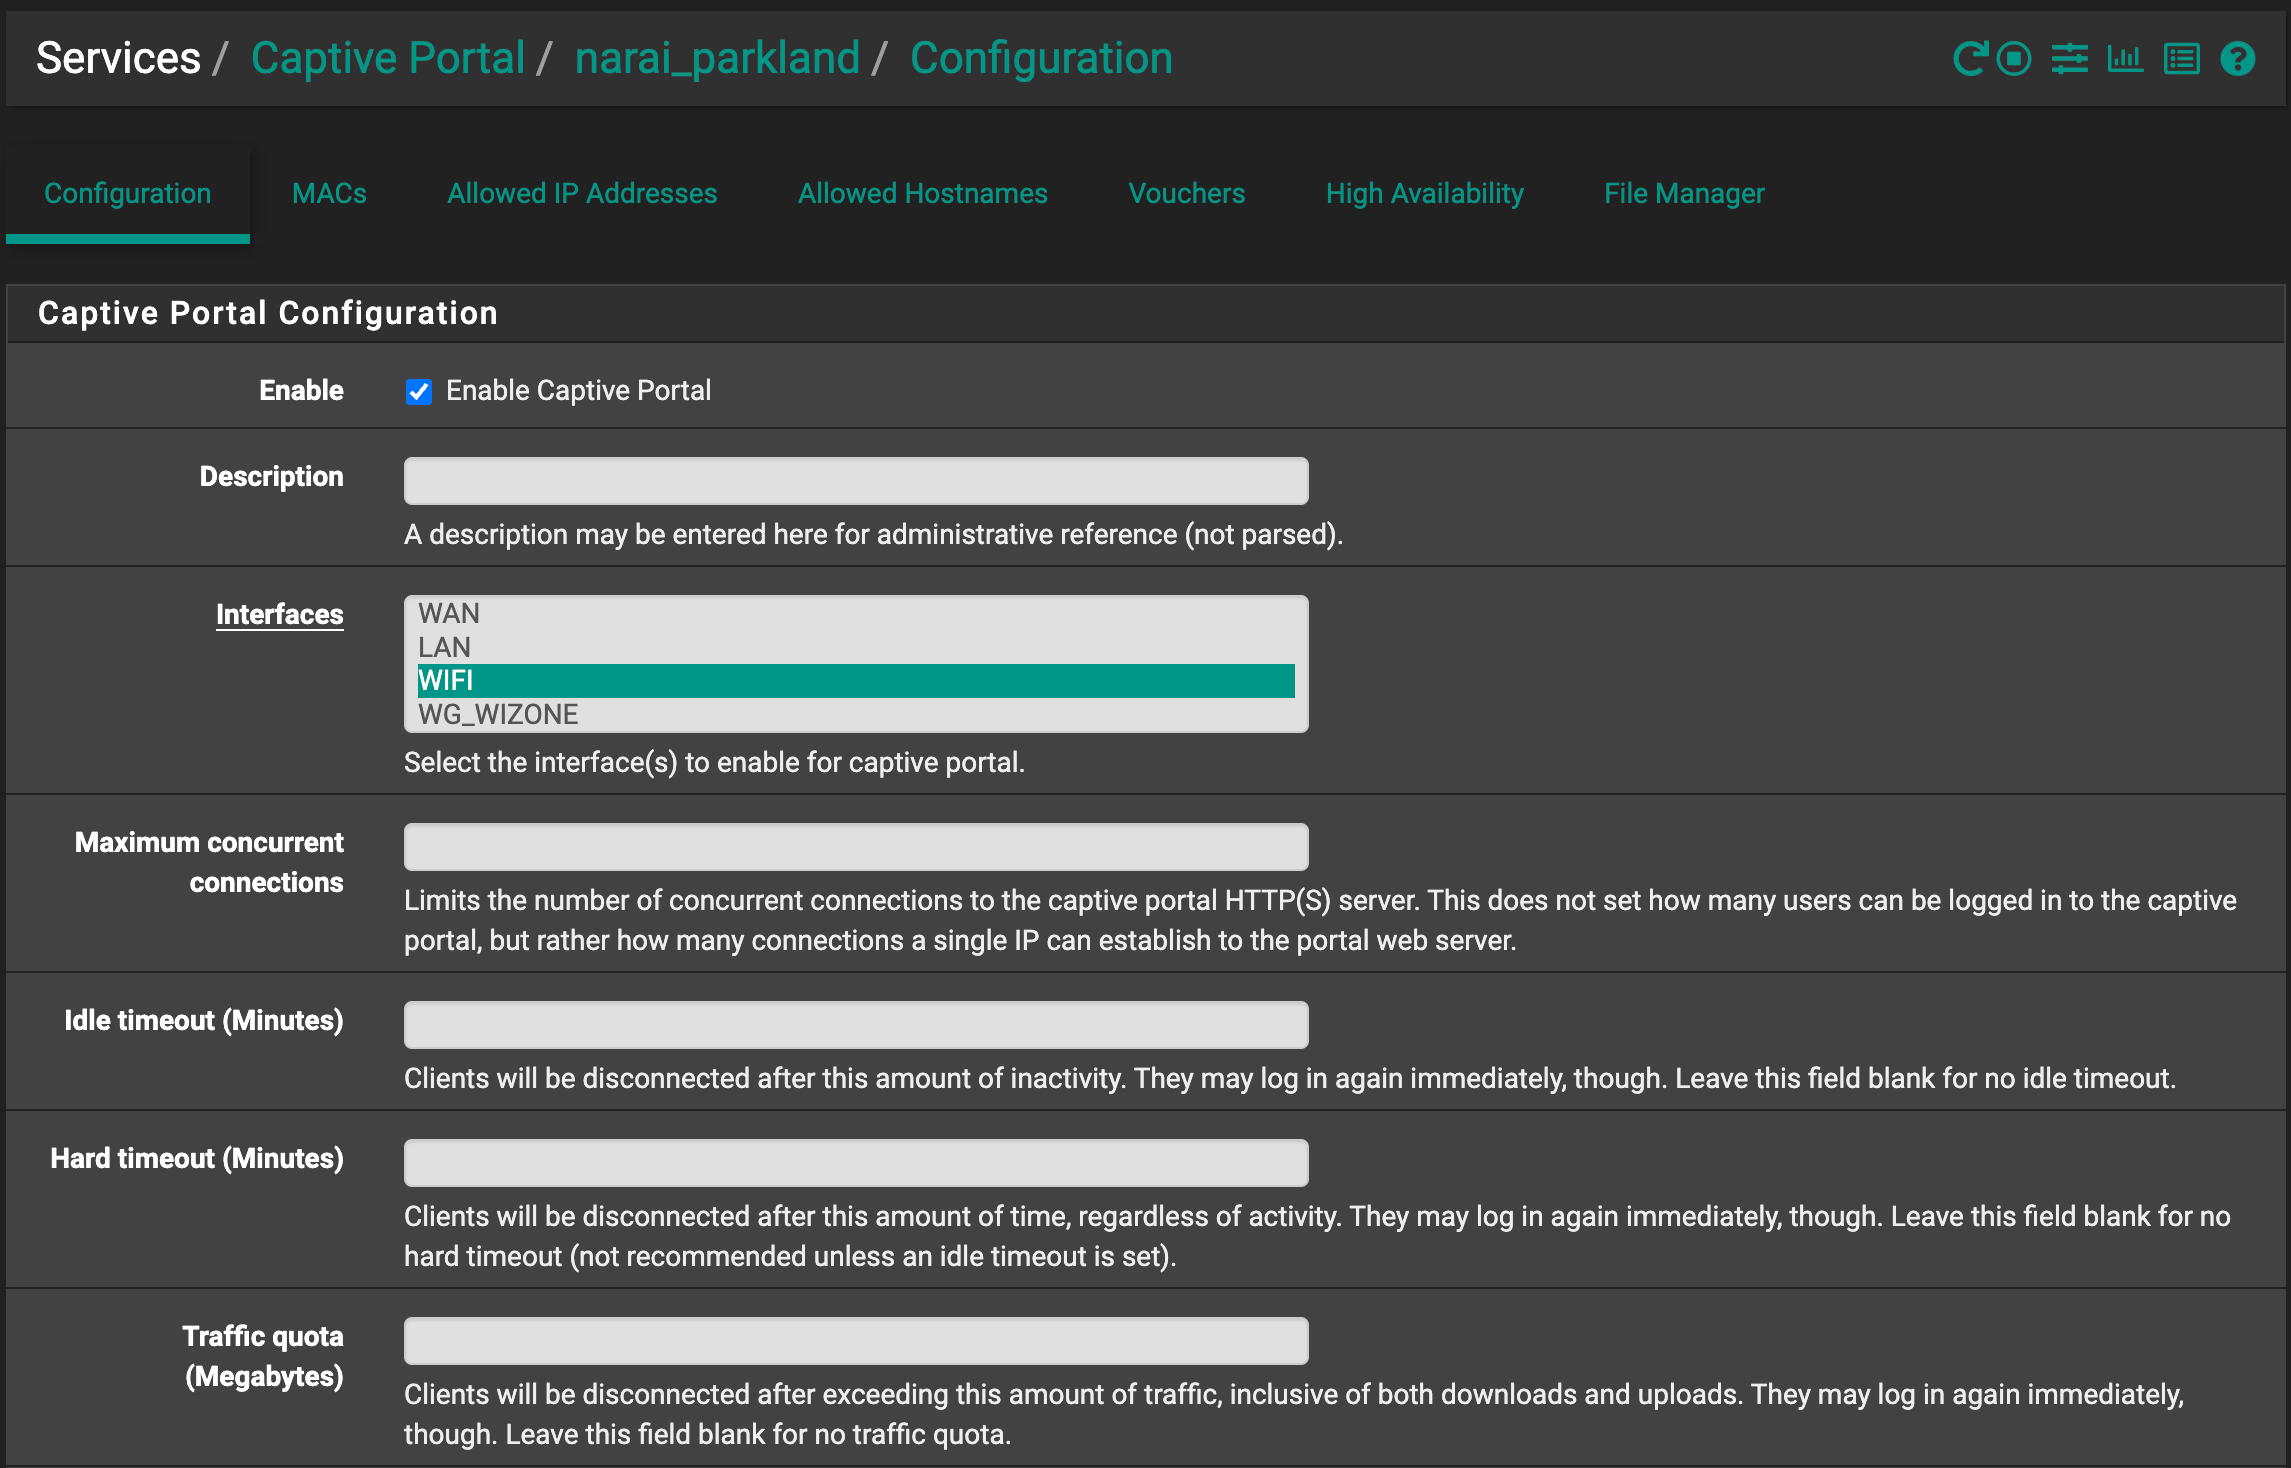
- Enable Captive Portal and edit the zone you just created.
- Configure the basic options:
| Field | Description |
|---|---|
| Enable Captive Portal | Check this option |
| Idle Timeout (Minutes) | (optional) disconnect inactive clients |
| Traffic Quota (MB) | Leave blank for unlimited |
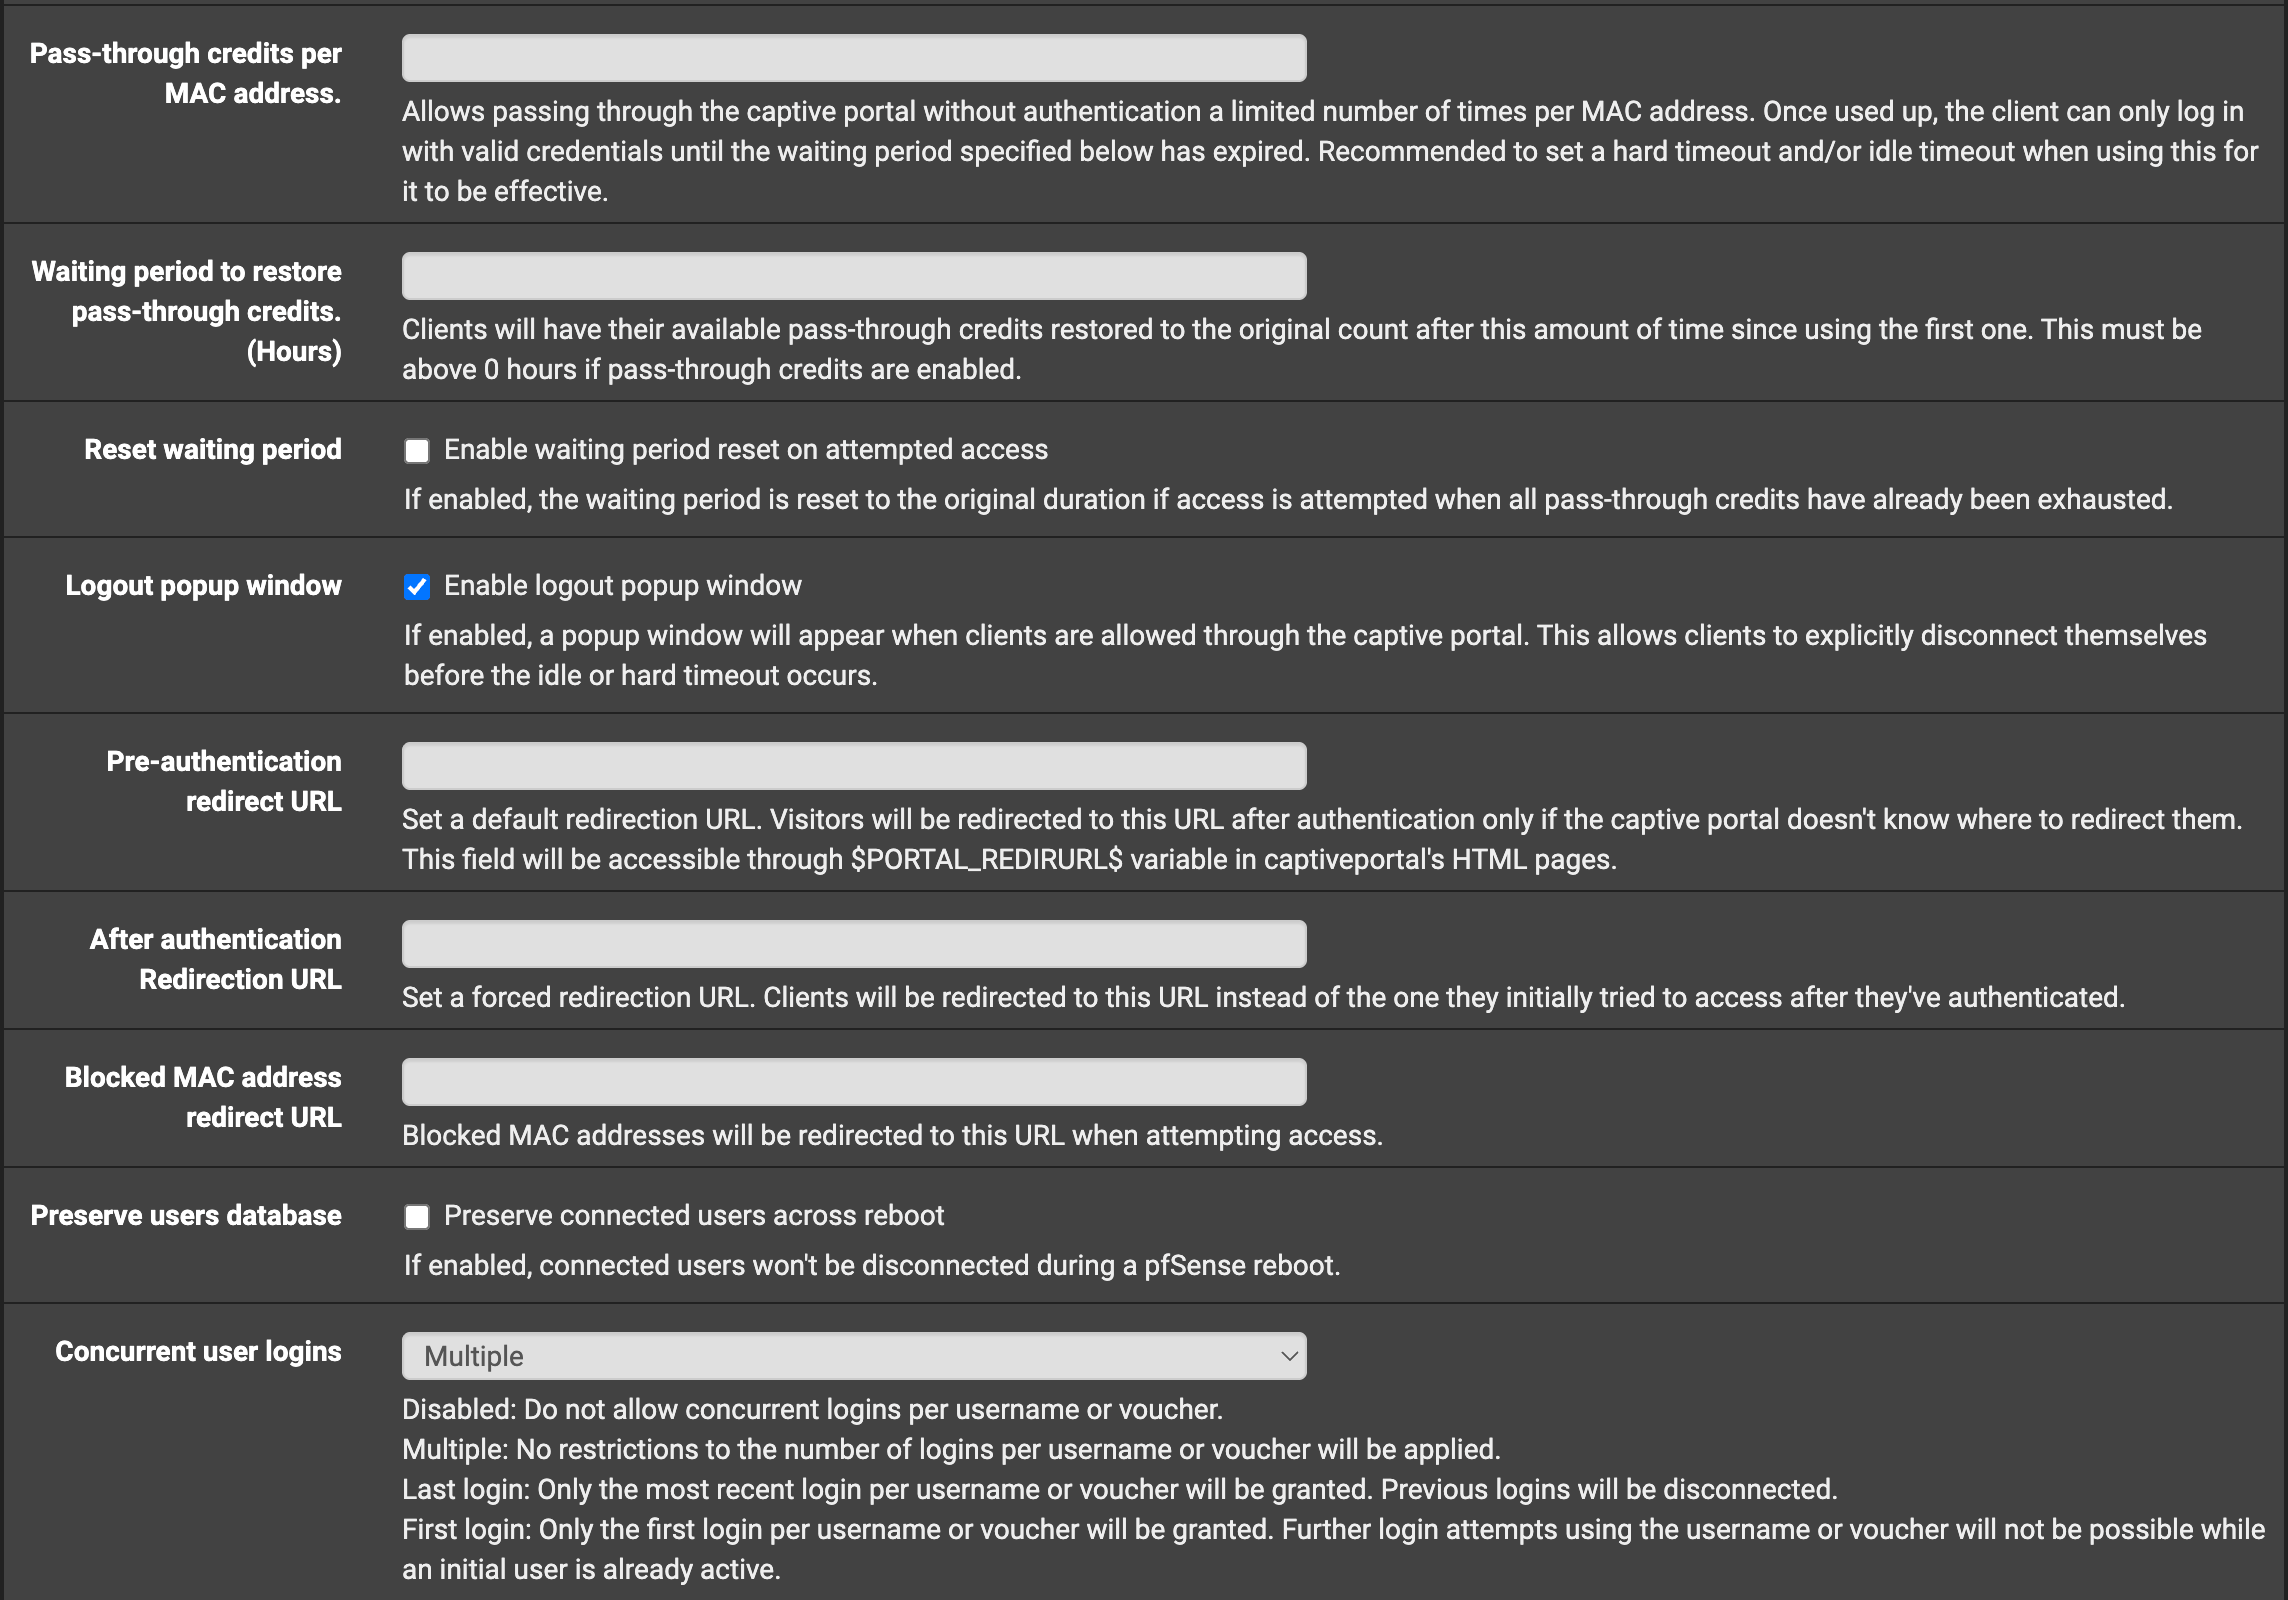
| Concurrent Logins | Multiple |
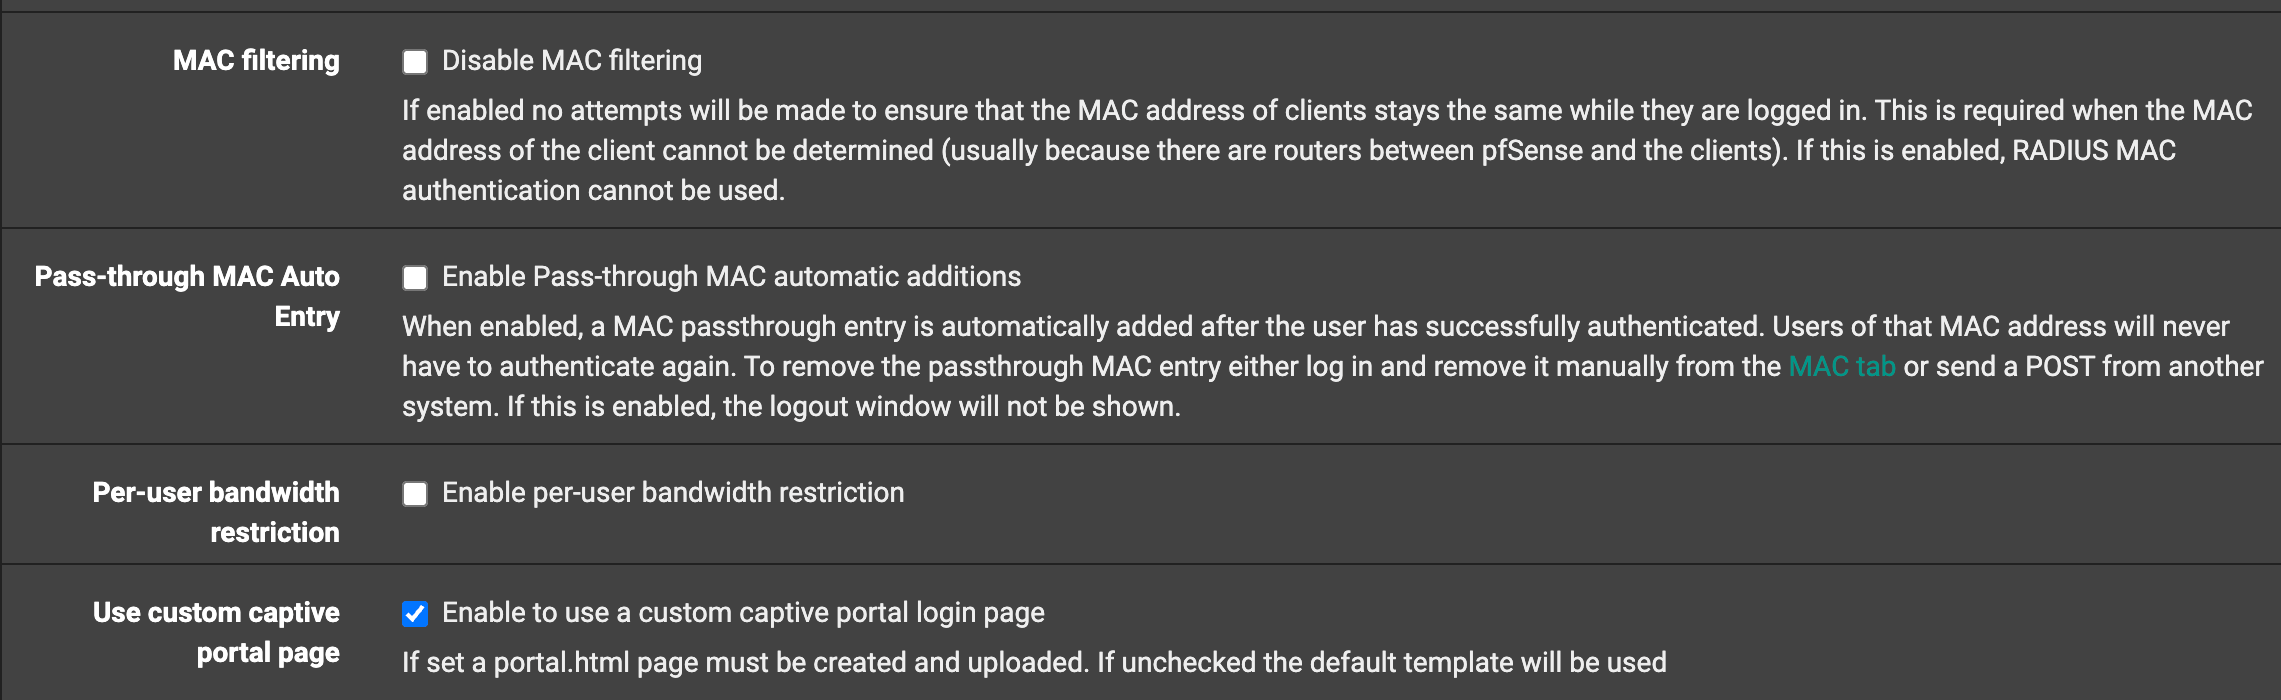
| MAC Filtering | Disable if RADIUS MAC is used |
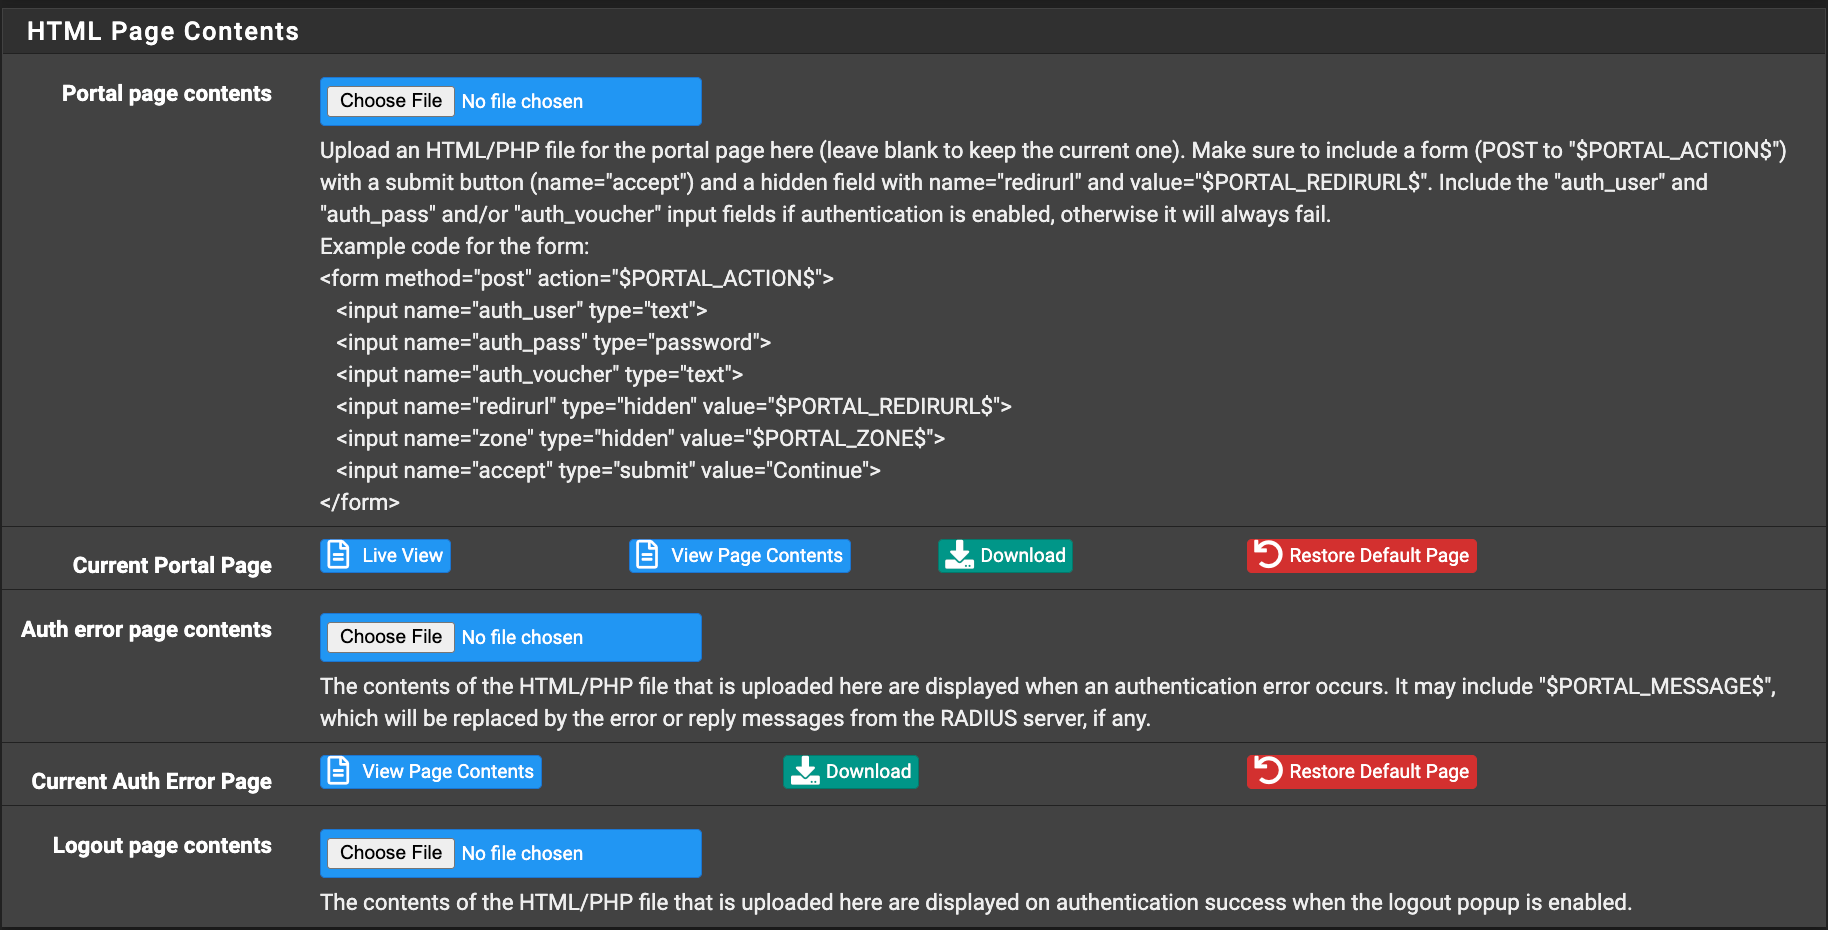
| Custom Portal Page | Enable to use your own HTML/PHP login |
- After enabling Custom Portal Page, download the WiZone login portal files from WiZone Portal
- Open the
login_portal.htmlfile and replace value="DEVICE_KEY" with your Device Key from WiZone Portal. - Upload
login_portal.htmlinto the Portal page contents and Auth error page contents sections.
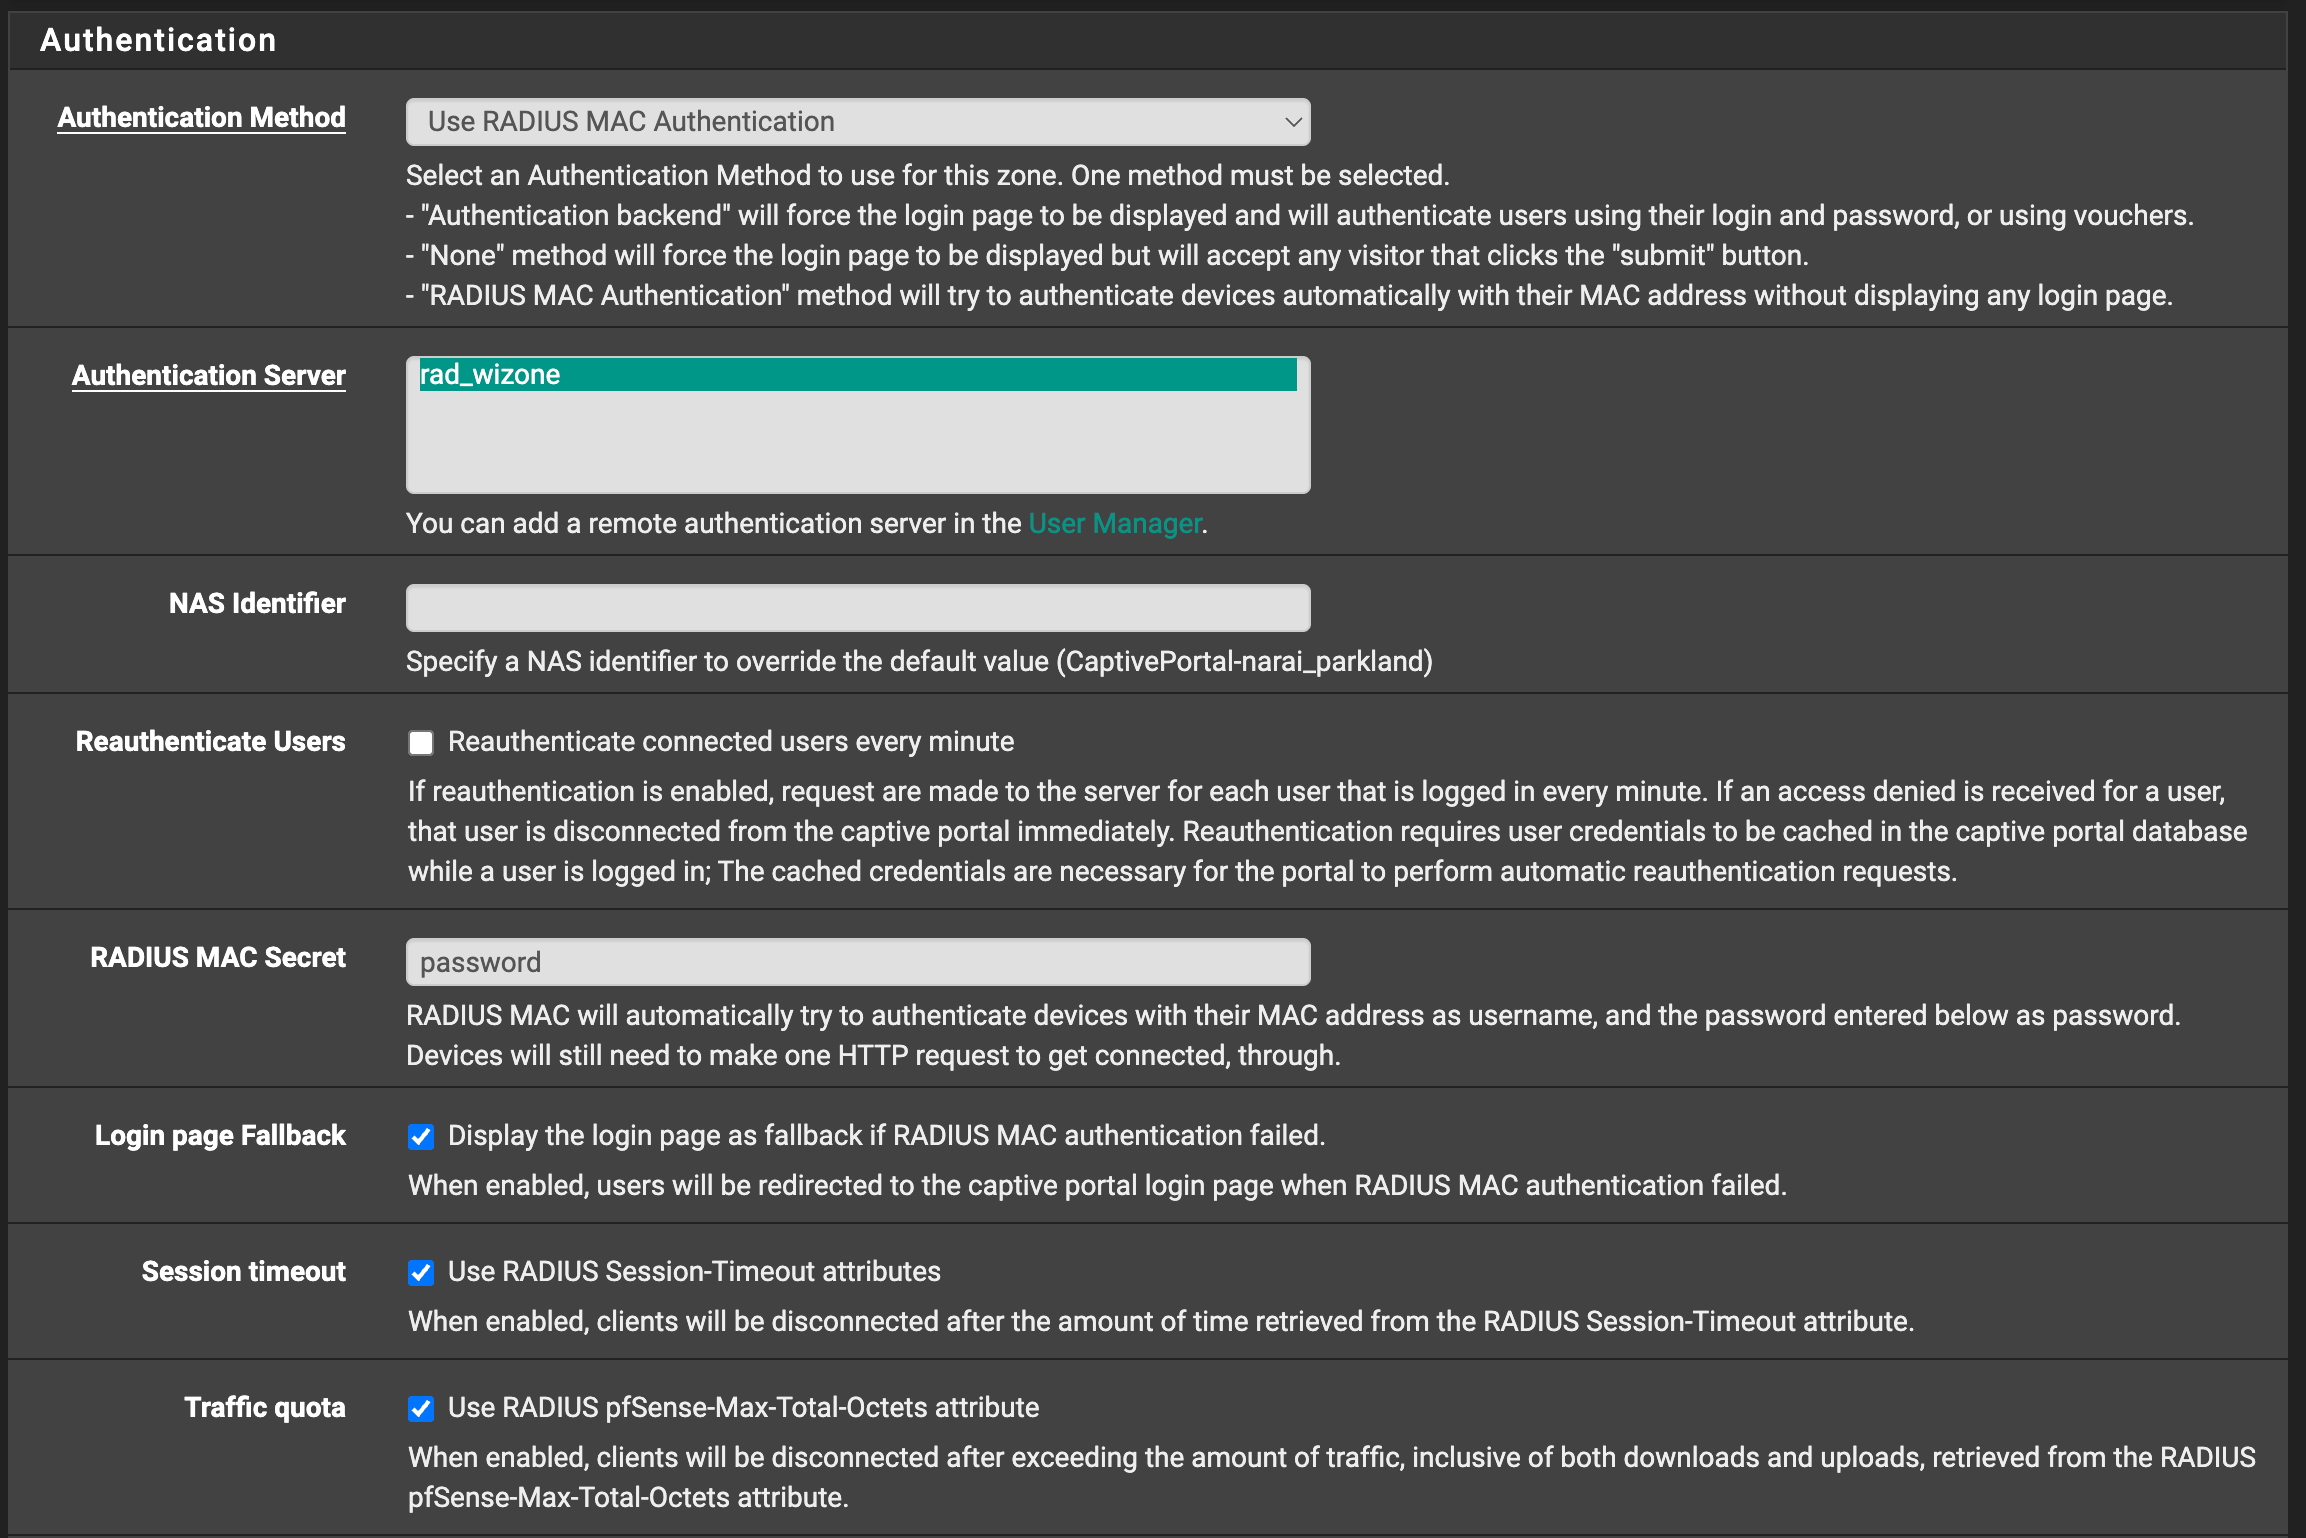
Step 3 – Authentication – Use RADIUS MAC Authentication
Configure the Authentication tab as shown:
| Field | Example / Value | Description |
|---|---|---|
| Authentication Method | Use RADIUS MAC Authentication | Devices authenticate automatically using MAC address |
| Authentication Server | rad_wizone | Select your RADIUS server |
| RADIUS MAC Secret | password | Shared secret for MAC authentication |
| Login Page Fallback | (check the box) | Enable redirect to login page if MAC auth fails |
| Session Timeout | (check the box) | Use RADIUS Session-Timeout to disconnects client after session expiry |
| Traffic Quota | (check the box) | Use RADIUS pfSense-Max-Total-Octets to apply bandwidth usage limits |
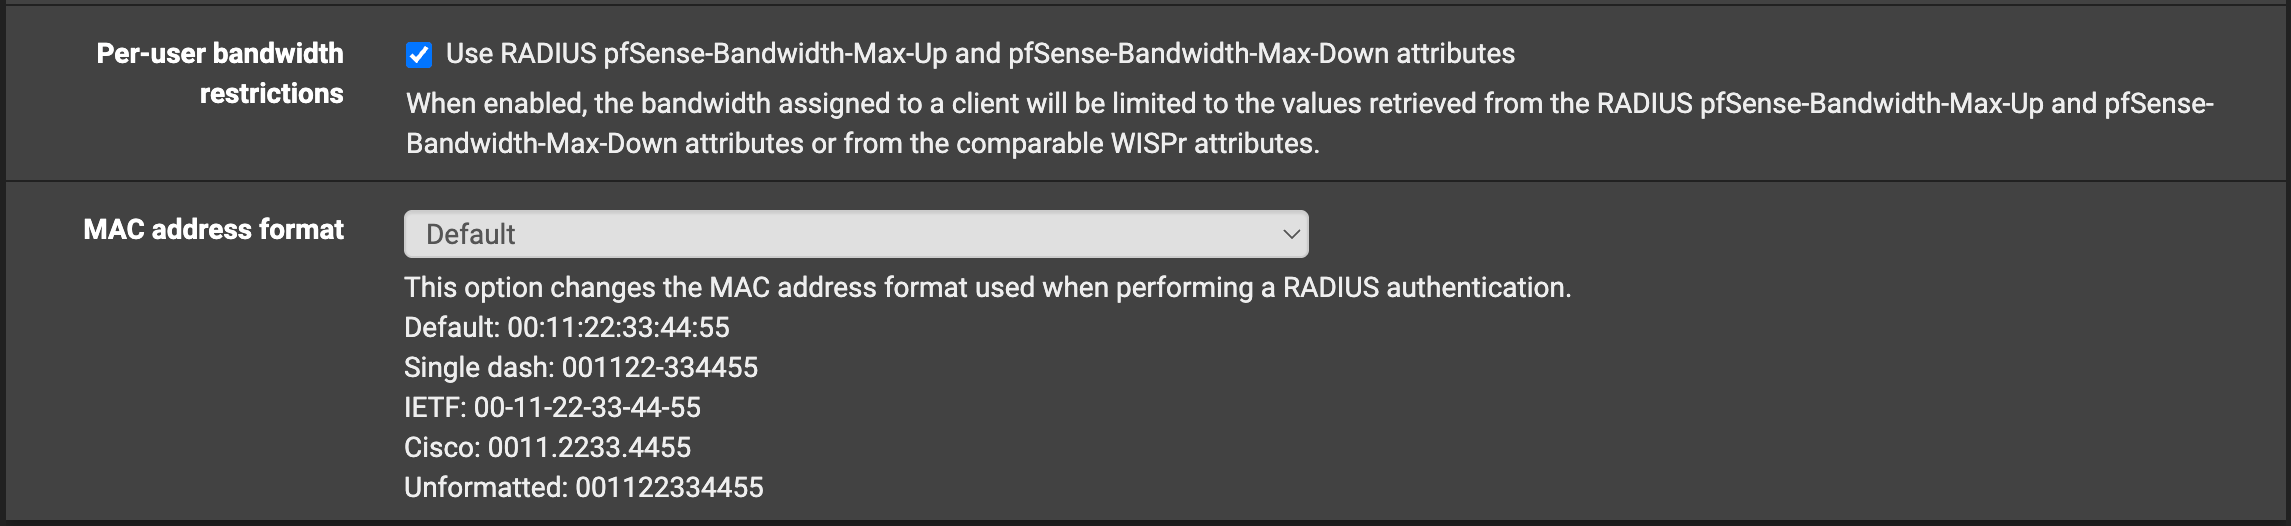
| Per-User Bandwidth Restrictions | (check the box) | Apply RADIUS-based upload/download limits |
| MAC Address Format | Default | Uses standard MAC format for compatibility |
rad_wizone ) is added under Authentication Servers before proceeding.Step 4 – Accounting Options
| Field | Value | Description |
|---|---|---|
| Send RADIUS Accounting Packets | (check the box) | Logs session time, usage, and disconnections |
| Accounting Server | rad_wizone | Select your WiZone RADIUS server |
| Send Accounting Updates | Interim | Sends periodic usage updates to RADIUS |
| Interim Update Interval | (optional) | Define how often usage updates are sent |

Step 5 - HTTPS Options
| Field | Value | Description |
|---|---|---|
| Enable HTTPS Login | (check the box) | Protects user credentials during login |
| HTTPS Server Name | captive.wizone.io | Must match SSL certificate Common Name |
| SSL/TLS Certificate | captive.wizone.io | Select the imported SSL certificate |
| Disable HTTPS Forwards | Leave unchecked | Allows redirect from HTTP to HTTPS login page |

⚠️ Reminder: Ensure the DHCP server is enabled on the captive portal interface and DNS Resolver or Forwarder is active so unauthenticated clients can resolve hostnames.
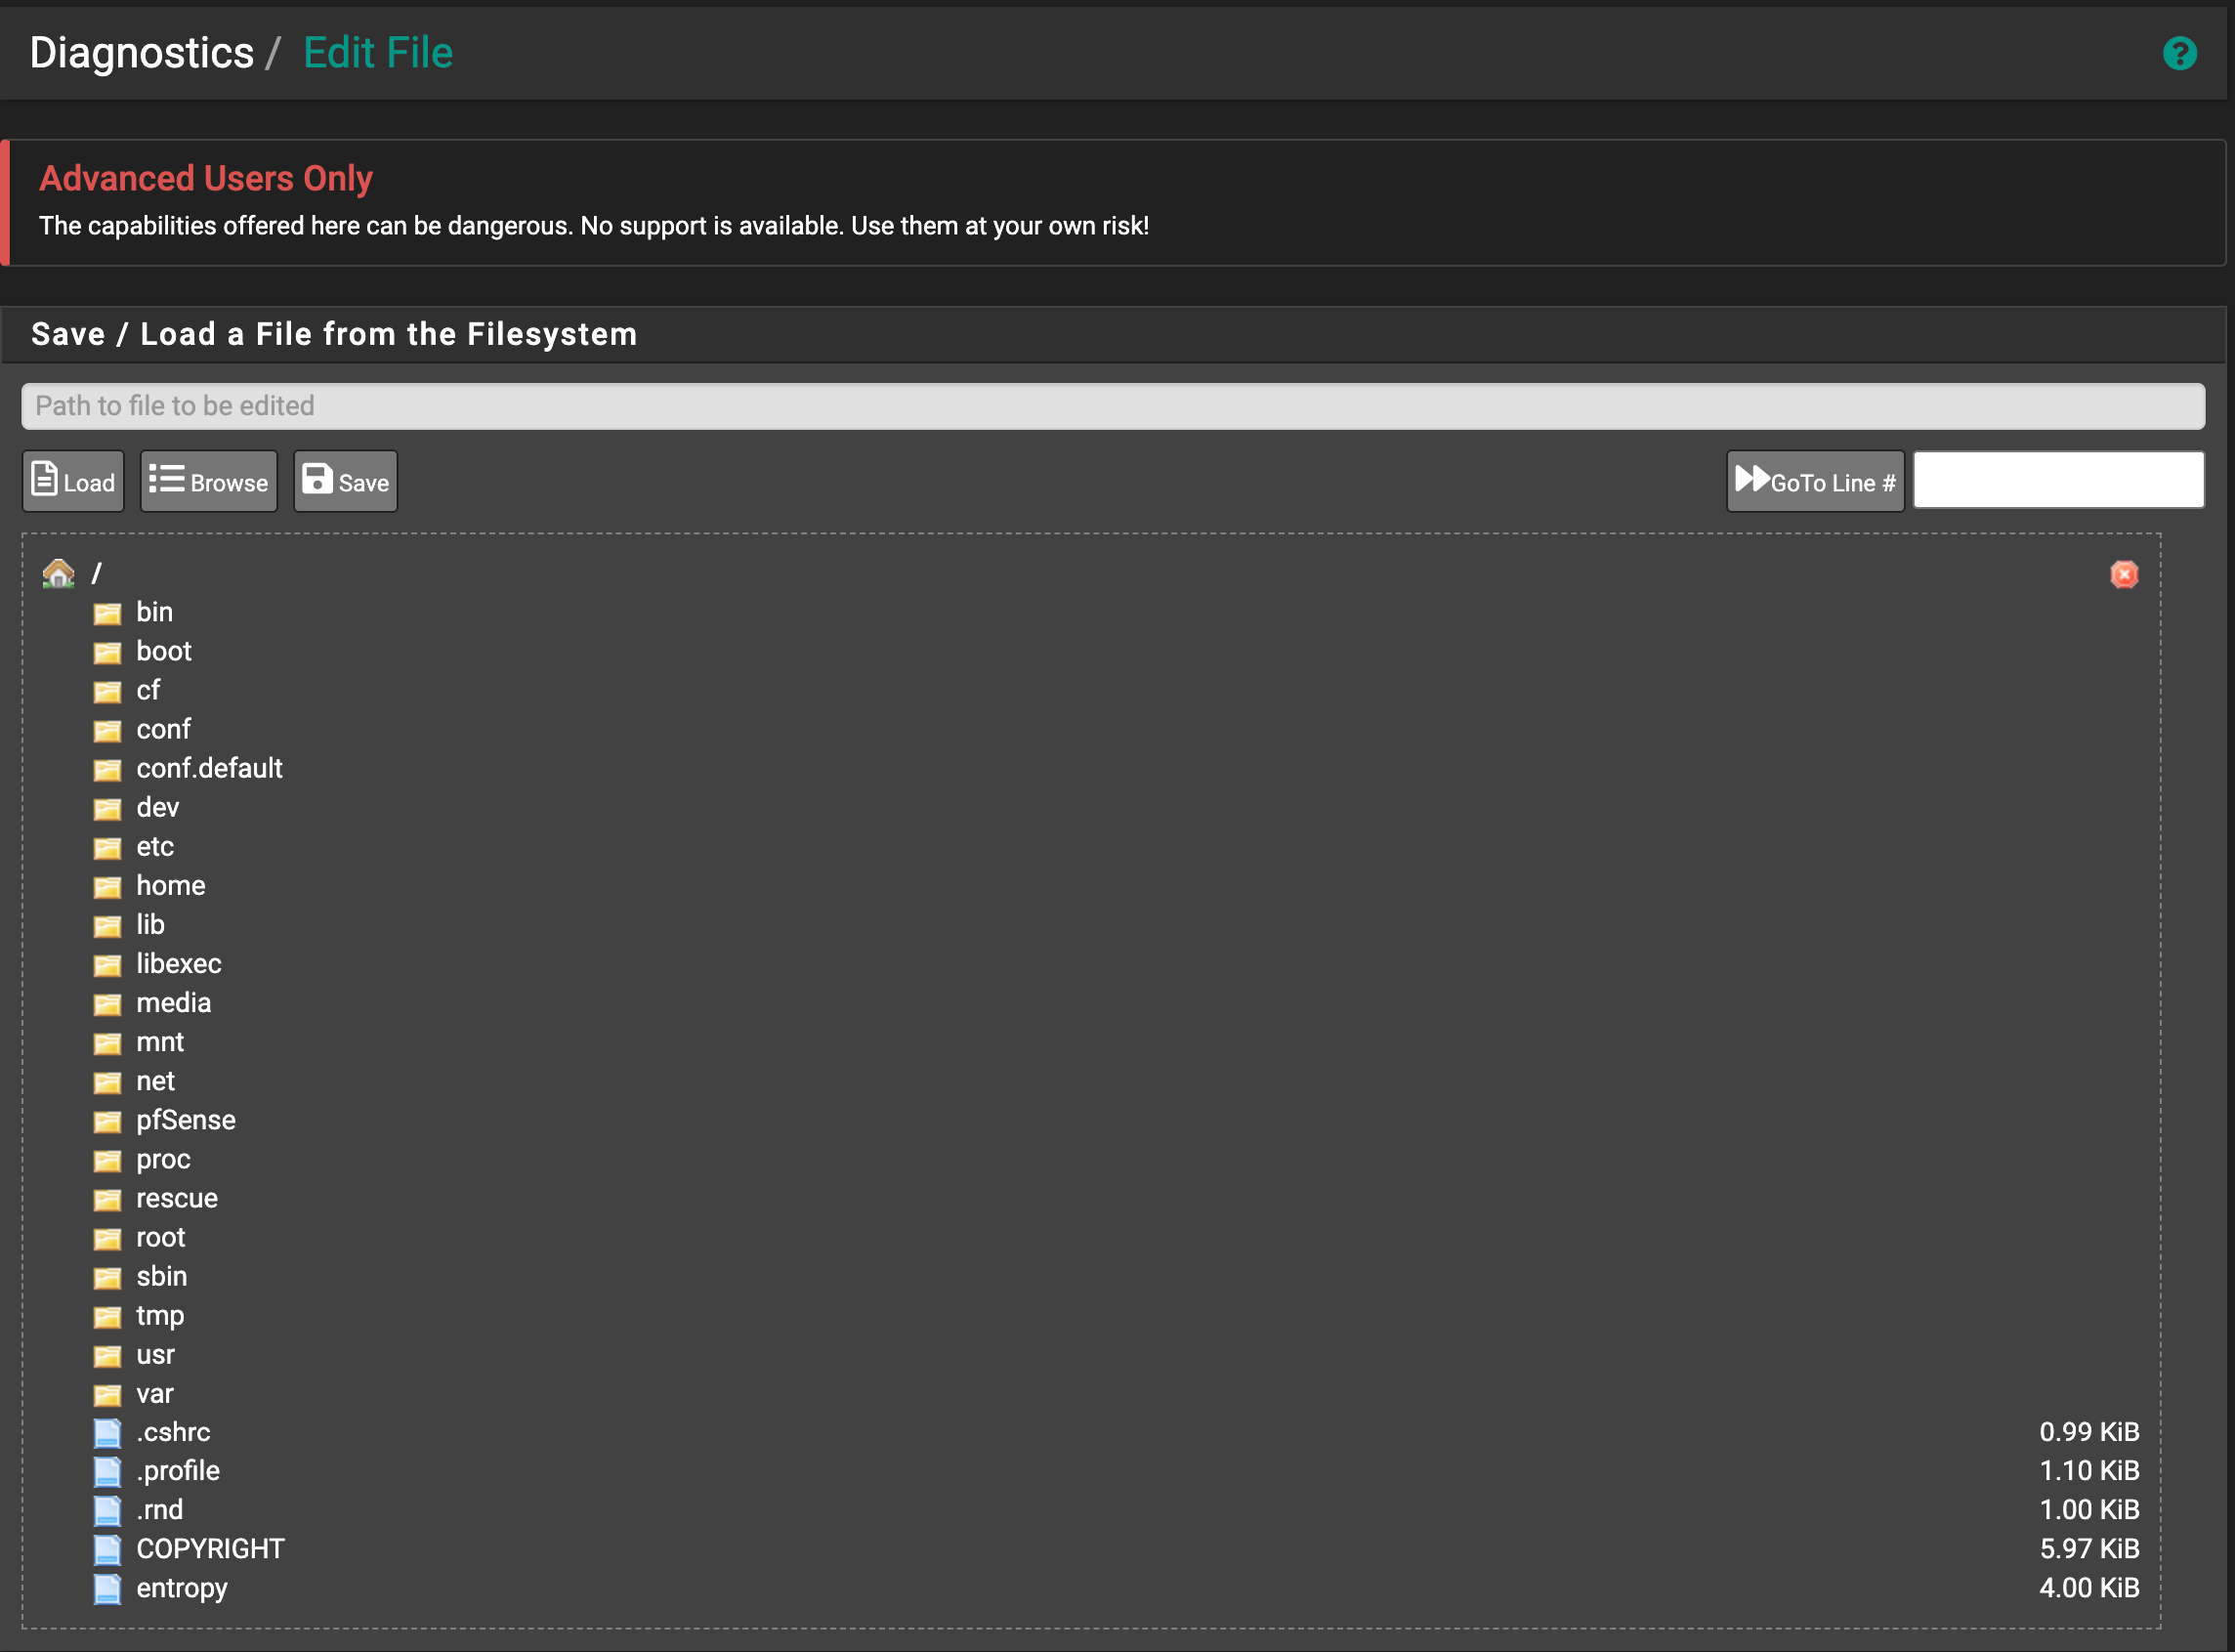
Step 5 – Update Required System Files for WiZone Login
Because pfSense does not allow uploading PHP/system files directly through the UI, you must manually update them using the file editor located at Diagnostics → Edit File.
You can download the required files from the
WiZone Portal → Device Configurationsection.The download package includes all files you need, including path.txt which shows the exact pfSense locations for each file.
5.1 Locate File Paths from path.txt
Inside your WiZone setup package, you will find a file named path.txt.
This file lists the exact system paths where each file must be replaced. For example:
/usr/local/etc/inc/captiveportal.inc
/usr/local/www/wizone/utils_captive.php
5.2 Open the File Editor in pfSense
- Go to Diagnostics → Edit File.
- Click Browse to navigate through the filesystem.
- Use the paths from
path.txtto locate each file. - Copy the entire file content.
- Paste it into the pfSense editor window.
- Click Save.
Repeat this process for:
api-pfsense-lib.phpcaptiveportal.incutils_captive.php
⚠️ Important:
These files are part of pfSense’s Captive Portal logic.
Make sure you paste the content exactly as provided — no missing lines, no extra spaces.
Configure WiZone RADIUS
This section explains how to configure RADIUS authentication, certificates, DNS resolver, and captive portal for WiZone.
Allow Hostnames and Configure Log Settings
This section explains how to allow specific hostnames in Captive Portal and configure both local and remote logging options for WiZone.