Configure DNS and Static Entry
Step 8 – Configure DNS and Static Entry
After configuring routes, set up DNS servers and add a static DNS record to ensure local resolution of the WiZone Captive Portal domain (captive.wizone.io).
This step allows unauthenticated users to be redirected correctly to the local hotspot login page before accessing the internet.
8.1 Configure Global DNS Servers
- Go to IP → DNS
- In the Servers field, enter:
| Field | Value |
|---|---|
| Servers | 1.1.1.1, 8.8.8.8 |
- Click Apply → OK
These are the public DNS servers used by the router for general name resolution.
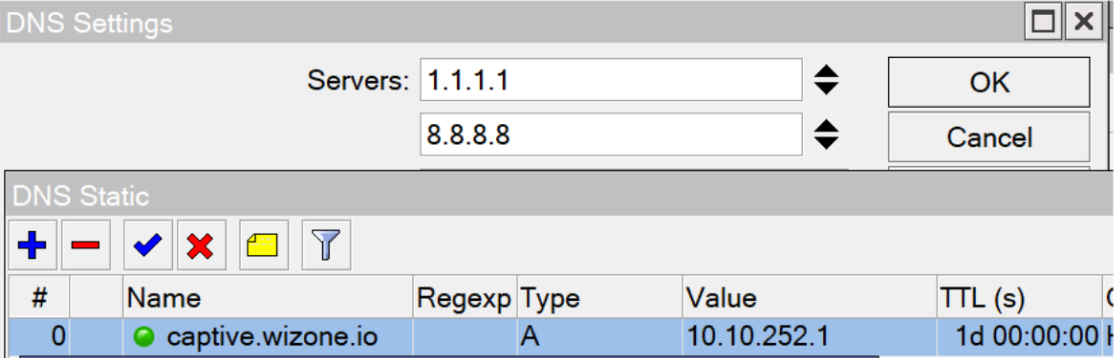
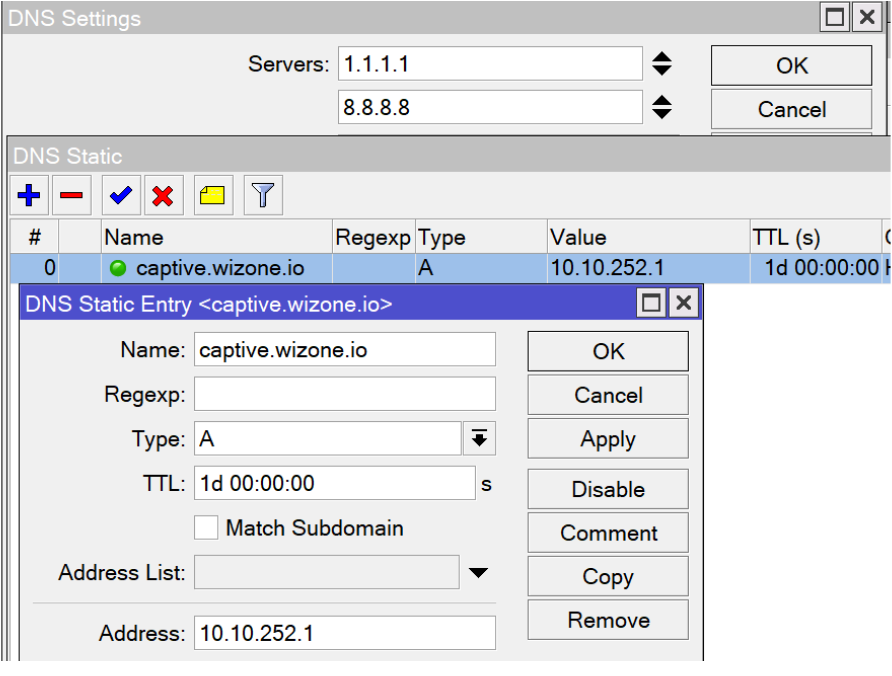
8.2 Add Static DNS Entry for Captive Portal
- While still in IP → DNS, click Static → Add (+)
- Configure the following parameters:
| Field | Value |
|---|---|
| Name | captive.wizone.io |
| Type | A |
| Address | 10.10.252.1 (Hotspot interface IP) |
| TTL | 1d 00:00:00 |
- Click Apply → OK
This static entry ensures that all DNS queries for captive.wizone.io resolve locally to the hotspot IP address (10.10.252.1) instead of the internet.
It allows WiZone to display the login portal reliably, even when clients do not yet have external access.
Configure DHCP Network
This section explains how to set up the DHCP server and define the Wi-Fi network range for WiZone-connected devices.
Import SSL Certificate for WiZone Captive Portal
This section explains how to upload and import SSL/TLS certificates into Mikrotik for secure HTTPS captive portal access.