Mikrotik Setup
Configure Static Routes for WiZone
This section explains how to add static routes for RADIUS and WireGuard connections to ensure proper communication with the WiZone platform.
Step 6 – Configure Static Routes for WiZone
After completing the DHCP setup, configure routing rules to ensure your Mikrotik router can reach the WiZone RADIUS and Gateway servers through the WireGuard interface.
Static routes define specific network paths for authentication and management traffic between your local router and the WiZone platform.
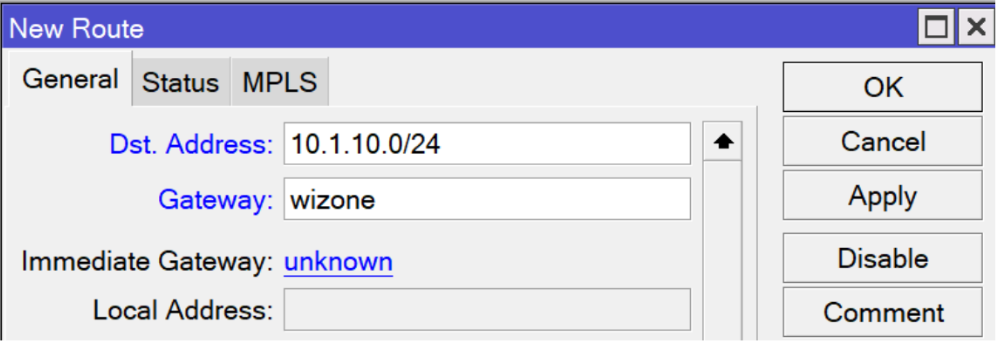
6.1 Add Route for WiZone RADIUS Network
- Go to IP → Routes → Add (+)
- Configure the following fields:
| Field | Value |
|---|---|
| Dst. Address | 10.1.10.0/24 |
| Gateway | wizone |
- Click Apply → OK to save.
This route allows your Mikrotik to send RADIUS authentication and accounting packets through the WireGuard VPN tunnel instead of the default WAN connection.
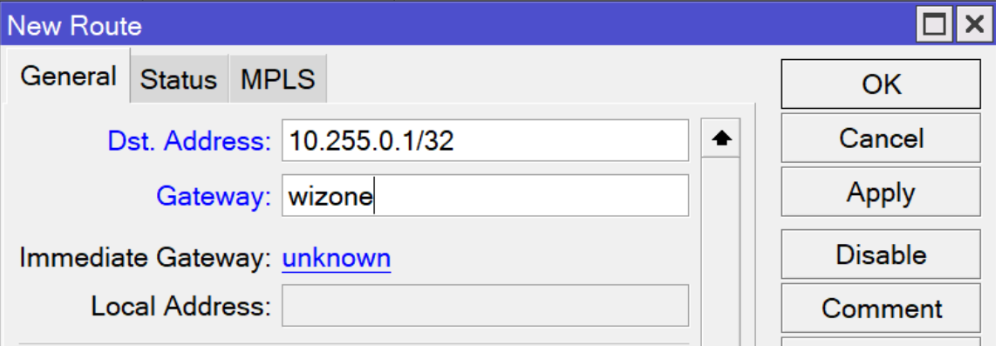
6.2 Add Route for wireguard
- Again, go to IP → Routes → Add (+)
- Configure the route for the WireGuard peer endpoint:
| Field | Value |
|---|---|
| Dst. Address | 10.255.0.1/32 |
| Gateway | wizone |
- Click Apply → OK
This ensures that communication with the WiZone main gateway (10.255.0.1) always passes through the secure WireGuard interface.